Showing posts with label jewellery making. Show all posts

Tuesday, 12 May 2015

Using a Planishing Hammer Part Two

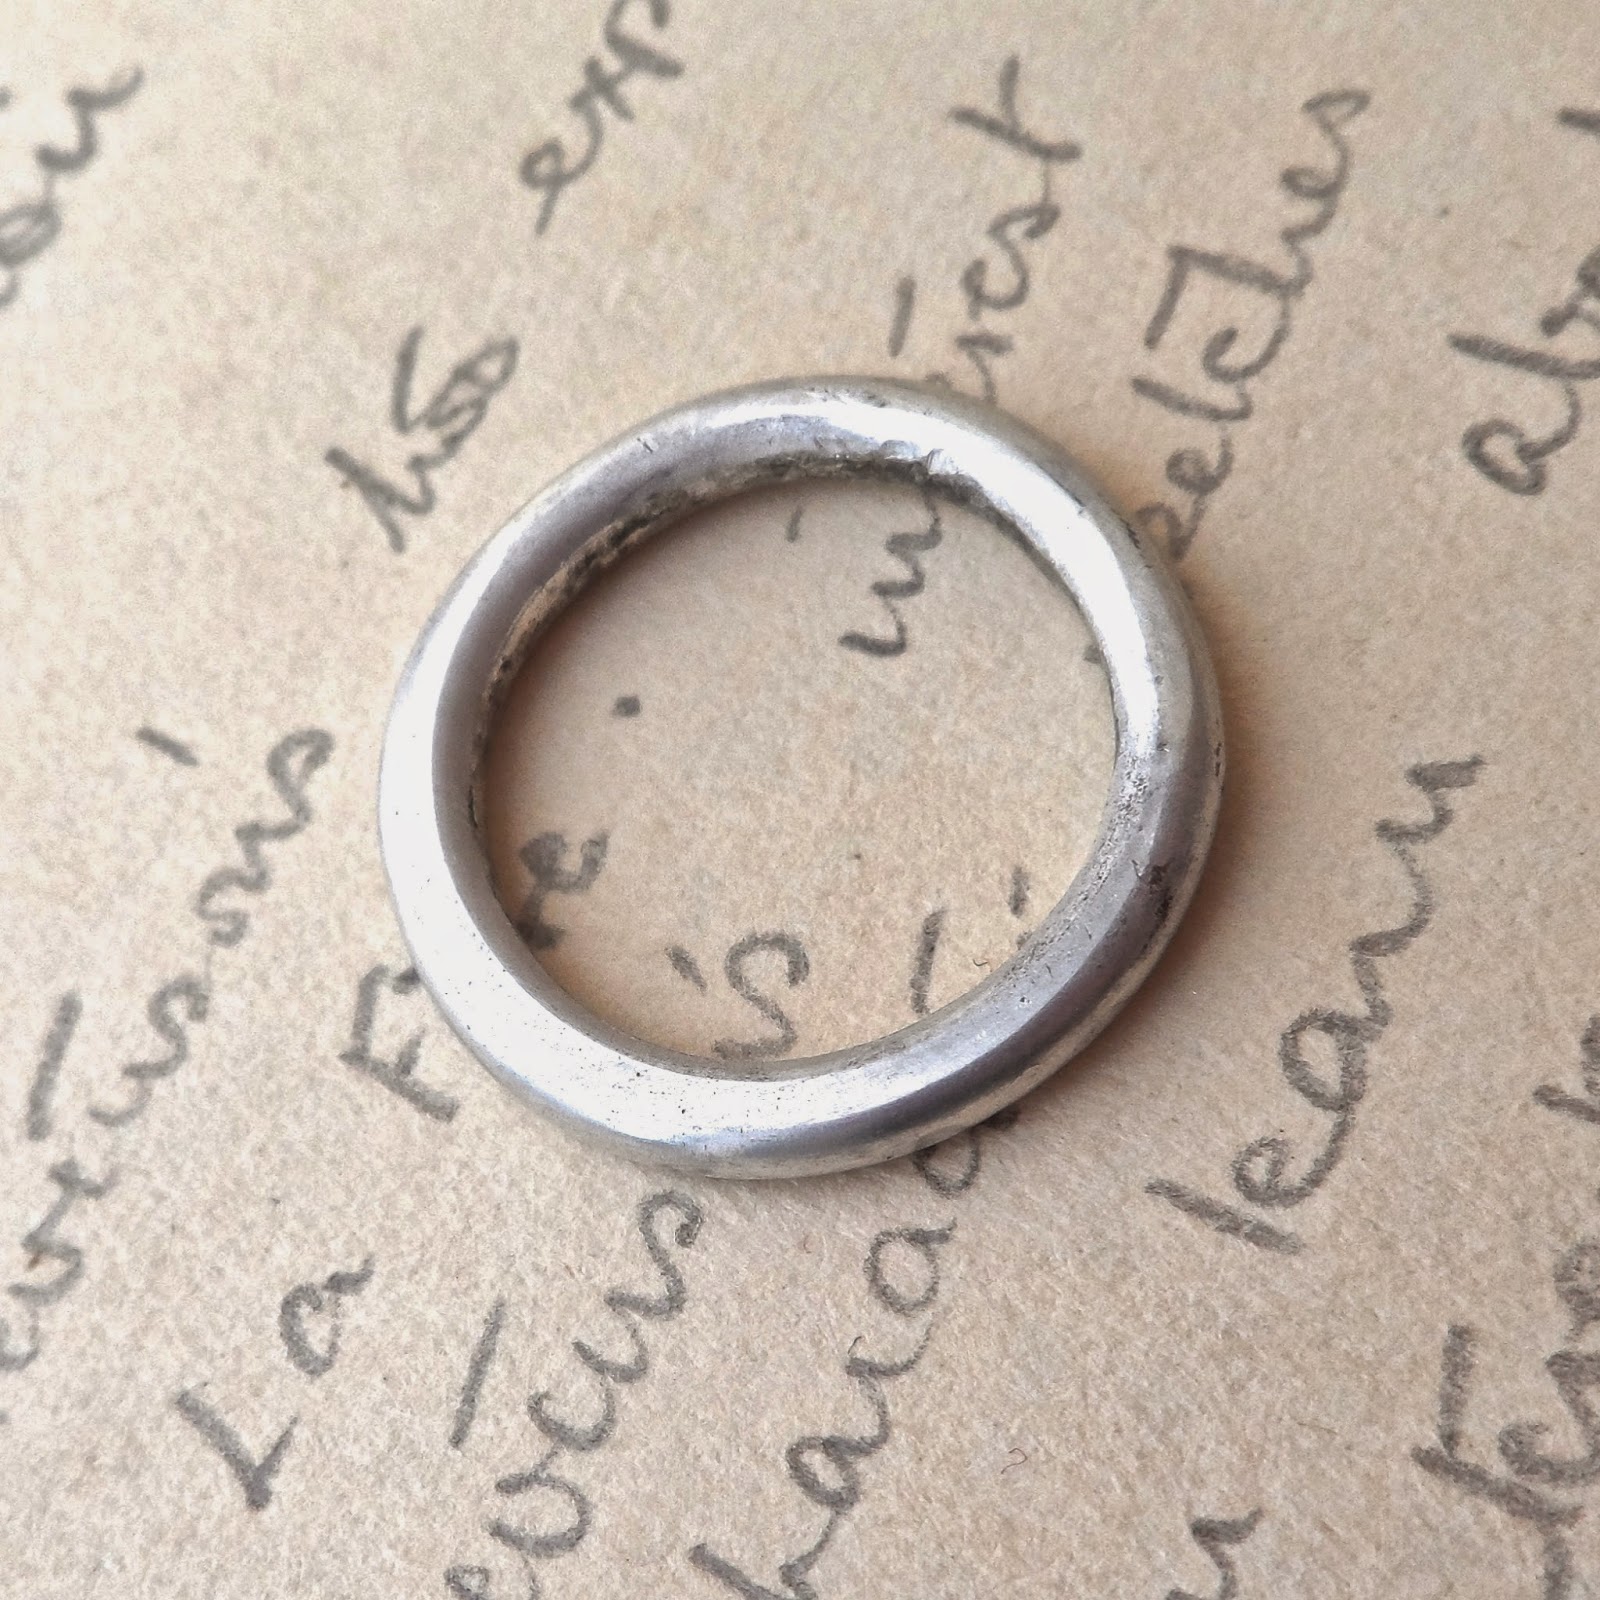
Here is the finished ring.

I stamped the leaf design on one side to add interest. The other side is polished smooth. I'm really pleased with the result!


I'd love to see other examples of using a planishing hammer. Let me know of your experiences in the comments below!

Using a Planishing Hammer Part One

I bought a planishing hammer, which has a rounded and perfectly flat end. This is a lightweight version, traditionally used for forming and flattening metal. You can create some interesting effects on the surface of the silver.


This 2.5 mm sterling silver round wire is tough to form with pliers. I had to anneal it a couple of times, heating it with the torch to bring it to a dull red colour. After soldering the wire shut, I was then able to round it on the ring mandrel using my new rawhide mallet.


Keeping the ring flat on a steel bench block, I began to flatten the wire using a steady pressure.


This is about halfway finished. I am going to anneal the ring again and see if I can flatten it further.

Saturday, 9 May 2015

Silversmithing Tools: New Rawhide Mallet

I read this post on The Toast quite awhile ago and it stuck with me. I don't know how much people really think or care about how jewellery is made when they buy either from me or from other small-scale designer-makers but sometimes the process is just as interesting as the finished product.

I don't have a huge budget for new tools but it was my birthday recently so I felt like I could treat myself to something new. I have opted for this rawhide mallet to replace my nylon mallet, which is still usable but has a slight problem because the head always chips so that I get left with tiny crumbs of plastic when I form silver into rings and bangles.


The mallet is made from a spiral of buffalo leather. I must admit, I've had the theme from Rawhide in my head ever since I ordered it and when it arrived, I was quite delighted to see that it was a Thor branded hammer. My very own Mjölnir!


I chose the Size 1 mallet with a 1 1/4 inch head diameter. It's a nice size and quite lightweight. My jewellery is often small and delicate so I don't think I'd really need anything bigger. I haven't used it yet but I'm very pleased that I decided to upgrade my tools. I feel more official as a silversmith!

Plus it's always nice to have a new toy particularly if I can pretend I'm a superhero by lifting it!

Thursday, 5 February 2015

New for 2015

I have been busy working on new designs for my SS15 collection. Here are some of my favourites below:

Pretty in Pink Sterling Silver Ring, available here


Pink Sapphire Cherry Blossom Necklace, available here


Green Amethyst Drop Earrings, available here


Moon Bunnies in Love Necklace, available here


Thursday, 30 October 2014

How to Make Sterling Silver Stud Earrings

Sometimes it's fun to know how the jewellery you wear is actually made. I thought I would share how I recycle the scrap silver left when I cut out my designs by making it into sterling silver studs.


For this, you need a charcoal block, which encourages the sterling silver to collect into a molten ball when it is heated. 


This scrap of silver is the middle between two cut out squirrels! 


When heated with a torch, the silver starts to melt and draws together, you can see the ball shape starting to form.


Suddenly the ball shape is formed.


It takes quite some time for the metal to cool.


Here is the finished pair of earrings available from my etsy shop.

Wednesday, 15 October 2014

This Is Halloween

I had a tiny length of cast silver twig left from a previous project and I was wondering what on earth I could do with it. It occurred to me that it might make a good broom handle. 


 I inherited some embroidery threads that were owned by my great grandmother (she had a seriously impressive array of colours in an old biscuit tin) so I soldered a small jump ring to one end of the twig and created a mulberry coloured silk tassel, tying it with a contrasting amber brown colour. 

I've added an earring post so that it can be worn as an earring. It is long enough so that it just brushes your shoulder (please forgive the pun!)


I've placed it next to a doll's house sized broom for comparison.

Thursday, 17 July 2014

Crafting the Image of Elizabeth I Part Two

After soldering, pieces can often look completely hopeless. Sometimes I think I've completely destroyed something until I've pickled (cleaned in a weak acid) and polished it. Below you can see that Elizabeth looks quite mucky and not particularly regal!


After a lot of elbow grease and polishing with sandpapers of various grades, the design becomes clearer and the brooch starts to looks much more wearable. Although the brooch in the photo below has clearly been polished a lot, it still needs a lot of work. I use 240 grade emery paper to take away any fire stains and then work down to finer grades of paper such as 1000 and sometimes even 2000 to get that high shine. It takes a lot of time but at least you can do this whilst watching a film! In fact, sometimes I find that I associate pieces forever with what I've watched whilst polishing them! Today it was The Simpsons. Perhaps I should have watched something a little more historical?


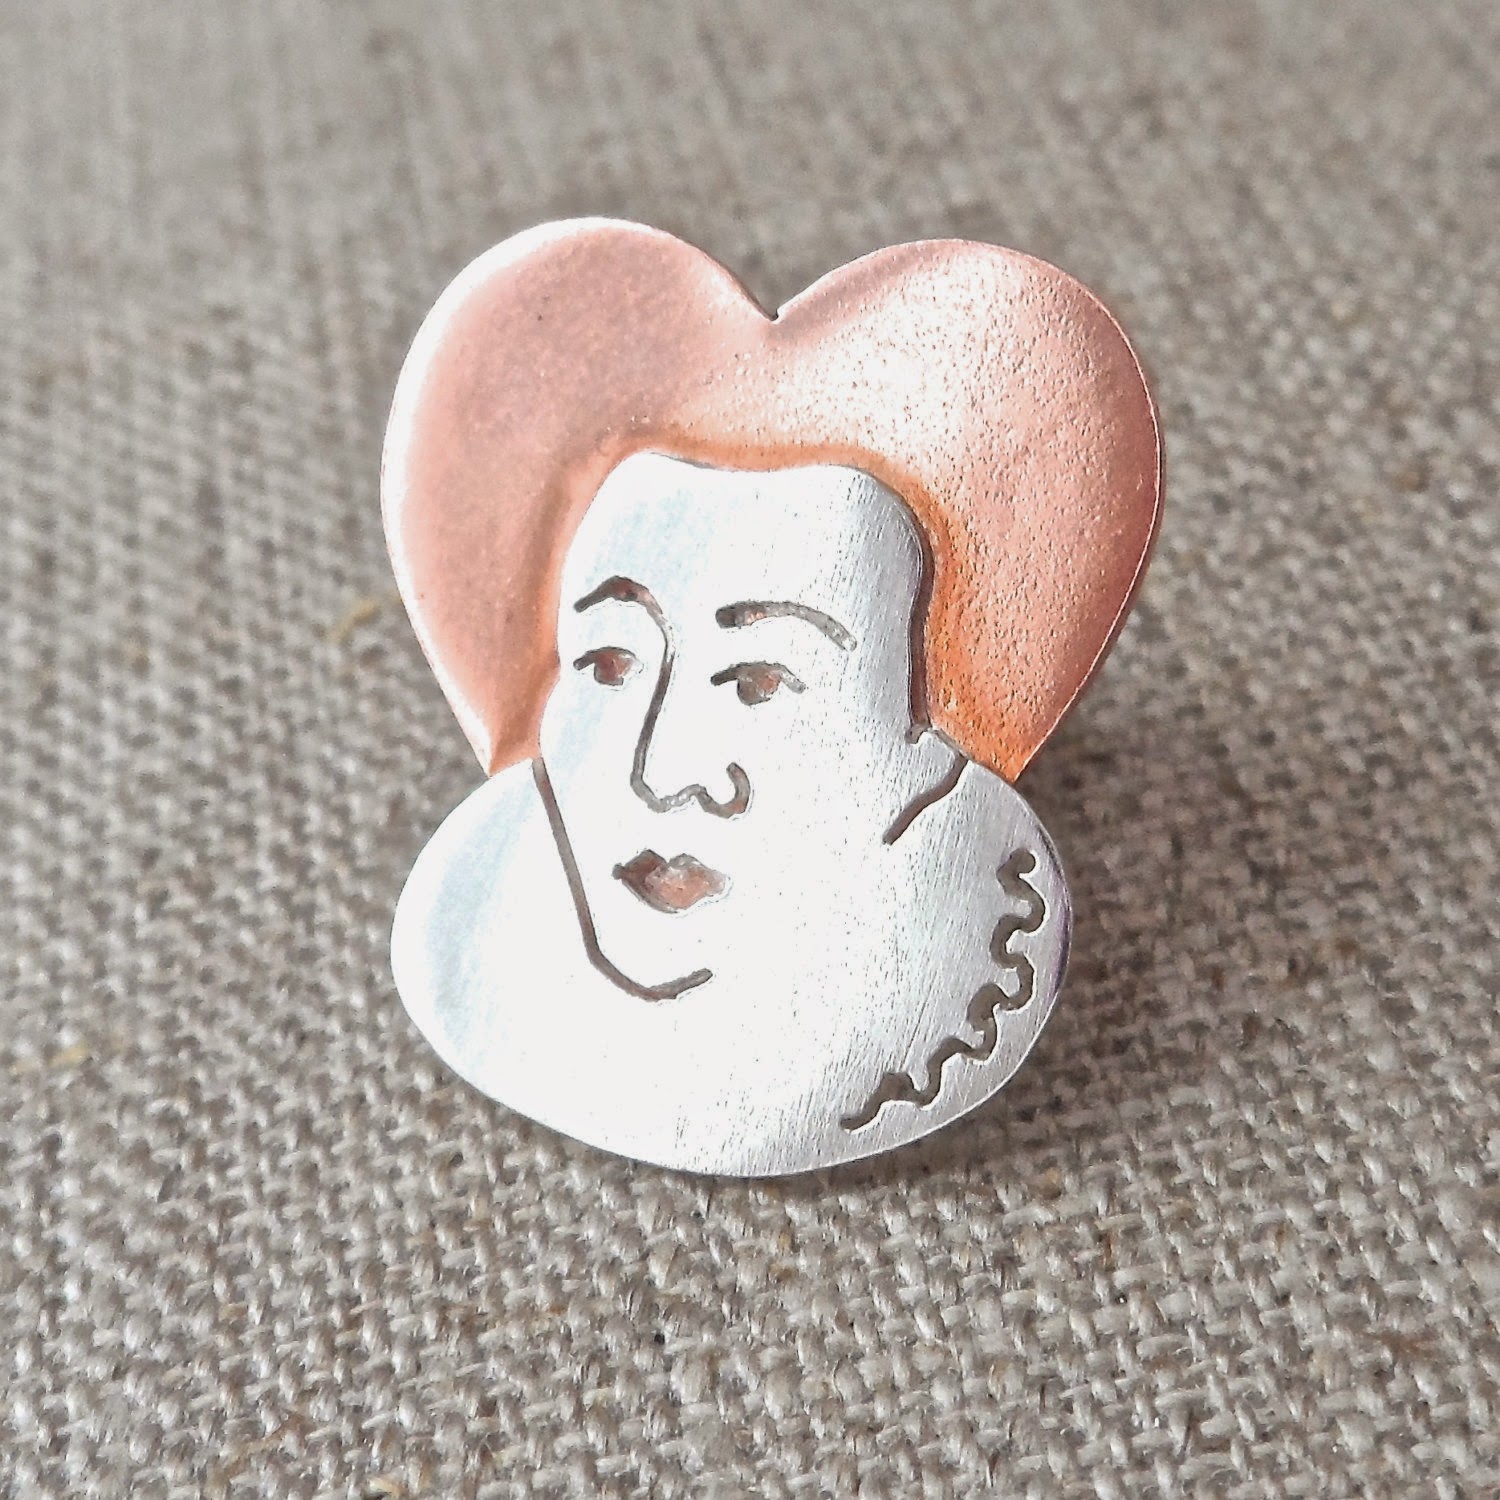
Finally, this is the finished brooch (below). It has been polished to a very high shine. The detailing is clear and I'm pretty pleased with the result! I would like to see if I could make a smaller version to have as earrings and perhaps as cufflinks or a pendant? This is a basic version and I could set gemstones and make more elaborate ruffs as well, which might be fun!


Crafting the Image of Elizabeth I Part One

Queen Elizabeth I was very aware of how important her image was to her subjects and to the rest of the world. She cultivated her appearance as the Virgin Queen by applying make up and wearing elaborate wigs and gowns. She famously never married, choosing to retain sole power as Queen of England.

Inspired by surviving portraits of Elizabeth I, I decided to see if I could recreate her image in copper and silver. The portrait below was a particular inspiration. It dates from c. 1588 and commemorates the defeat of the Spanish Armada. It part of the National Portrait Gallery's collection although it is rarely on display.

© National Portrait Gallery, London


First, I had to pare down the design to make it easier to pierce from silver sheet. I drew my design onto the sheet and drilled tiny holes where the eyes, eyebrows and mouth were going to be. The next stage was to pass a saw blade through the holes and sketch out the design by cutting into the metal. This is incredibly fiddly and you need an exceptionally steady hand! There is an added sense of fear because if you make a mistake, you cannot rectify it and you have to start again. 

Next, I needed to cut out a heart shaped piece of copper for the hair. I wanted it to cover the detail in the face and to strengthen the design so it had to be big enough to fit neatly behind the ruff.

The fear of filling the pierced design with solder is very real and so I've found the best way to achieve good results is to use very tiny pieces of solder positioned very carefully. I then laid the silver Elizabeth onto the copper sheet and moved the flame continuously whilst checking to see if the two metals were fixed together.


After soldering, Elizabeth I looked quite like a zombie! The flux has reacted here to provide a greenish tinge and the copper is demonstrating the beautiful fire patterns that can be achieved through heating copper and then quenching in cold water very quickly.

I've included a photo below of the process of soldering a brooch pin onto the back of Elizabeth. I used silver solder to solder between a silver pin and the copper sheet.